Imagine you’ve just loaded your Samsung dishwasher, expecting a smooth dish-cleaning operation, but instead, the heavy and smart auto lights start flashing. It’s a scenario that can test your patience.
The good news? You’re not alone in facing this hiccup.
In this blog post, we’ll look into the world of Samsung dishwasher troubleshooting, focusing on those vexing flashing lights.
We’ll walk through each step, unravel the mystery behind the issue, and provide you with detailed solutions to help you restore your dishwasher’s performance.
So, let’s get down to business and resolve this dishwasher dilemma together!
Understanding the Problem
Before we dive headfirst into resolving the issue, it’s essential to understand what those flashing heavy and smart auto lights on your Samsung dishwasher mean.
These blinking lights are like your dishwasher’s way of sending an SOS signal, indicating that something isn’t quite right.
Heavy Light:
This light typically suggests an issue with the dishwasher’s ability to drain properly. If it’s not draining correctly, it won’t be able to clean your dishes effectively.
Smart Auto Light:
It usually points to a problem with the dishwasher’s sensor or control board. When this light is blinking, it may mean that the dishwasher is struggling to determine the best wash cycle based on the load.
The bottom line: these lights are your dishwasher’s way of saying, “Help, I need attention!” Now that we’ve decoded their messages, let’s move on to uncovering the potential causes and solutions.
Common Causes & Solutions
To successfully address the issue of Samsung dishwasher lights flashing heavily and smart auto, it is vital to identify the root causes behind these signals. Let’s explore some common culprits and provide the solutions to get rid of them:
1. Clogged Filters and Drainage Issues:
Accumulated debris, food particles, or mineral buildup can obstruct the dishwasher’s filters and drainage system, hindering proper water flow and drainage. This, in turn, triggers the heavy light.
Solution:
Luckily, these issues can be resolved by guiding you through inspecting and cleaning the dishwasher’s filters, ensuring they are debris-free. We’ll also explain how to improve water flow.
How to Inspect and Clean Dishwasher Filters:
• Locate and access the dishwasher’s filters, typically at the bottom of the dishwasher’s interior.
• Remove the filters and clean them thoroughly using warm, soapy water and a soft brush or sponge.
• Reinstall the filters securely in their original positions.
• Plug in the dishwasher and turn it on to check if the issue persists.
Keys to Improve Water Flow:
• Run hot water in the sink closest to the dishwasher before starting a wash cycle.
• Use a dishwasher cleaner or descaler regularly to prevent mineral buildup.
• Ensure dishwasher racks are correctly positioned and do not interfere with the spray arms’ rotation.
• Check the dishwasher’s spray arms for clogs or blockages and clean them if necessary.
• Consider using a rinse aid to enhance water sheeting and drying performance.
2. Water Inlet Valve Problems:
A malfunctioning water inlet valve may fail to open correctly, preventing the dishwasher from receiving an adequate water supply. Consequently, the smart auto light illuminates due to the appliance’s inability to initiate the wash cycle.
Solution:
Follow the below step-by-step instructions to change the water inlet valve:
- Remove the lower access panel or kick plate at the dishwasher’s bottom front using a screwdriver.
- Use a wrench to disconnect the water supply line from the valve gently. Be ready for water spillage.
- Disconnect wires from the valve, noting their positions or taking a picture for reference.
- Unscrew or release any fasteners holding the old valve in place and remove it.
- Position the replacement valve and secure it in place with screws or brackets.
- Reattach wires to the new valve and reconnect the water supply line, tightening it with a wrench.
- Turn on the water supply and check for leaks around the new valve. Correct any leaks before proceeding.
Reassemble and Test:
- Reattach the lower access panel.
- Plug the dishwasher back in or restore power.
- Run a test cycle to ensure the dishwasher fills with water correctly and the smart auto light no longer flashes.
3. Door Latch and Seal Issues
Suppose the dishwasher’s door does not latch securely or the door seal is damaged or misaligned. In that case, it can lead to water leakage and disrupt the washing process.
This can result in the smart auto light flashing as the dishwasher’s performance is compromised.
Solution:
To resolve this issue, you must know how to inspect the door latch for proper alignment and functionality. The section below describes how to examine the door latch and adjust the door seal.
Inspecting the Door Latch
- Open the dishwasher door and locate the door latch mechanism, typically near the top of the door.
- Examine the latch for any visible damage or misalignment.
- Ensure the latch engages correctly with the door strike or catch on the dishwasher’s frame.
- Test the latch by closing the door and verifying it securely latches shut without excessive force.
Adjusting the Door Seal:
- Inspect the rubber door seal (also known as the gasket) running along the perimeter of the dishwasher door.
- Check for any signs of wear, tears, or damage in the seal. If damaged, it may need replacement.
To adjust the door seal for a tighter fit:
- Carefully lift the edge of the seal where it meets the door.
- Pull or push the seal to ensure it sits evenly against the dishwasher’s frame.
- Ensure there are no wrinkles or kinks in the seal.
- Close the dishwasher door and observe whether the seal forms a tight and secure seal around the door.
4. Sensor and Control Board Malfunctions:
Malfunctions or sensor failures within the dishwasher’s control board or sensors can prevent the appliance from accurately assessing the load and selecting the appropriate wash cycle. Consequently, the smart auto light may repeatedly blink to signal a problem with the automated cycle selection.
Solution:
We’ll explain how to diagnose potential sensor or control board issues within your dishwasher. If a malfunction is confirmed, we’ll guide you on replacing the faulty sensors or control boards to restore standard cycle selection.
Diagnosing Sensor or Control Board Issues:
- Disconnect the dishwasher from the power source.
- Examine the control panel for visible damage, loose connections, or error codes.
- Test the dishwasher by selecting different wash cycles and observing its behavior.
- If the dishwasher consistently fails to select the correct wash cycle or behaves erratically, it may indicate sensor or control board problems.
Replacing Faulty Sensors or Control Boards:
- Ensure the dishwasher remains unplugged for safety.
- Identify the faulty sensor or control board based on your diagnosis.
- Order a replacement part that matches your dishwasher’s make and model.
- Access the dishwasher’s interior by removing the lower access panel or kick plate.
- Disconnect wires or connectors from the faulty component.
- Remove screws or fasteners securing the defective sensor or control board.
- Install the new element for the exact location and secure it.
- Reconnect wires or connectors, ensuring proper placement.
- Reattach the lower access panel or kick plate.

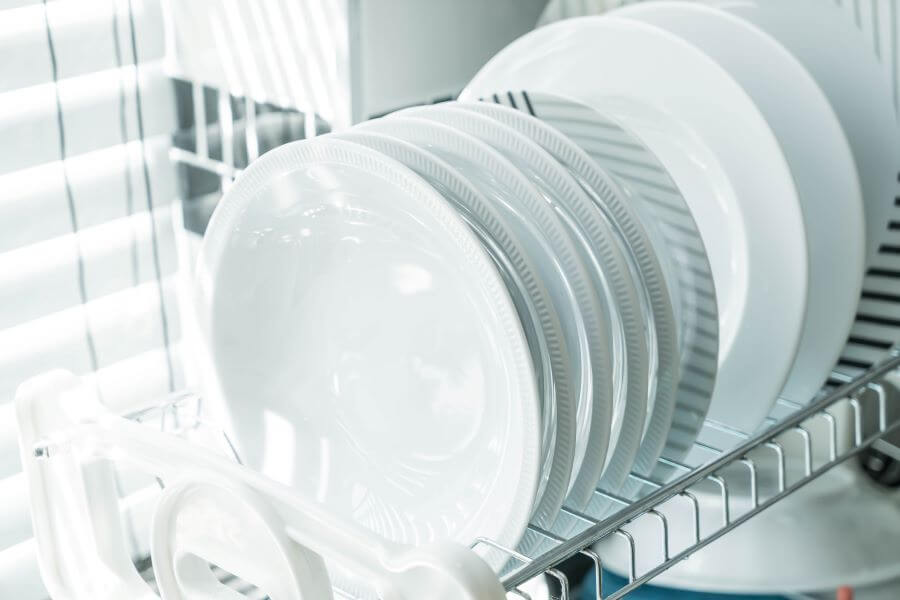
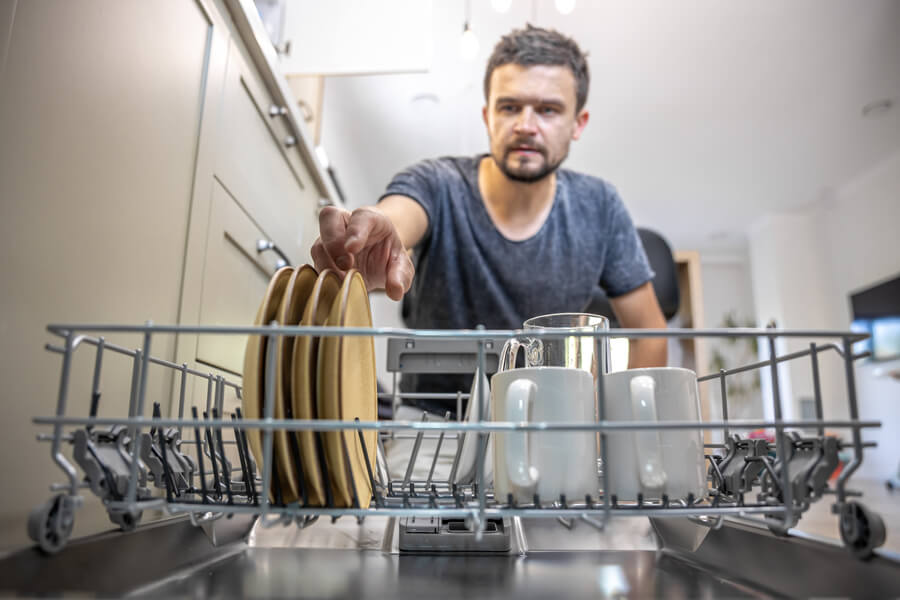
5. Overloading and Incorrect Loading
Overloading the dishwasher with excessive dishes or improperly arranging items within the dishwasher racks can obstruct water spray and impede proper cleaning.
This triggers the heavy light as the dishwasher struggles to function optimally due to the imbalanced load.
Solution:
We’ll offer practical tips on adequately loading your dishwasher to prevent overloading and ensure efficient cleaning. Learn how to arrange dishes and utensils to optimize water distribution and cleaning performance.
- Scrape off excess food into the trash or compost.
- Load large items like pots and pans along the sides and back of the lower rack.
- Arrange plates and bowls diagonally to allow water to reach all surfaces.
- Place soiled surfaces of dishes facing inward.
- Use adjustable racks for taller items.
- Put forks, knives, and spoon handles in the utensil basket and group them by type.
- Avoid overcrowding; leave space for water circulation.
- Load glasses and cups upside down on the top rack.
- Secure, lightweight plastic items on the top rack.
- Check and ensure spray arms move freely.
- Consider using a rinse aid for better drying performance.