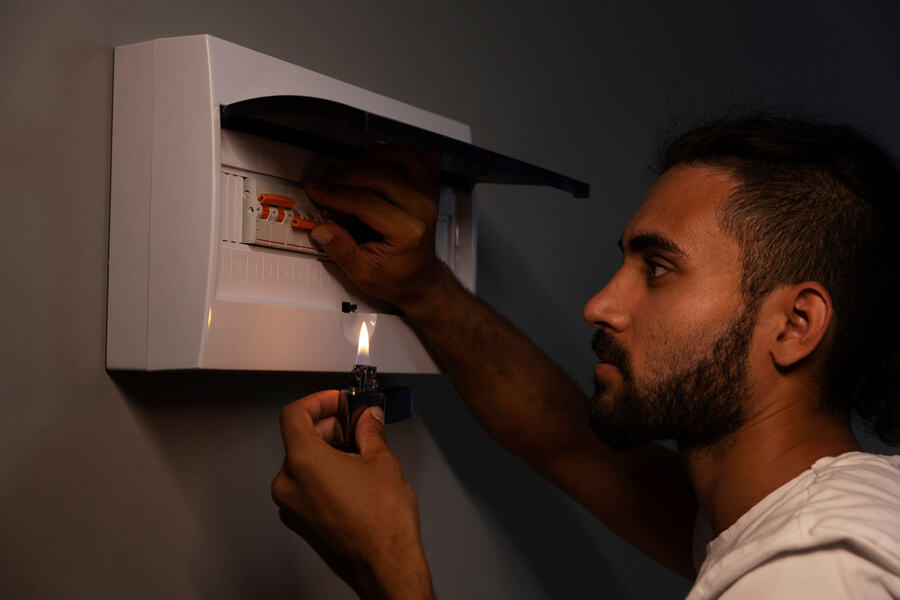
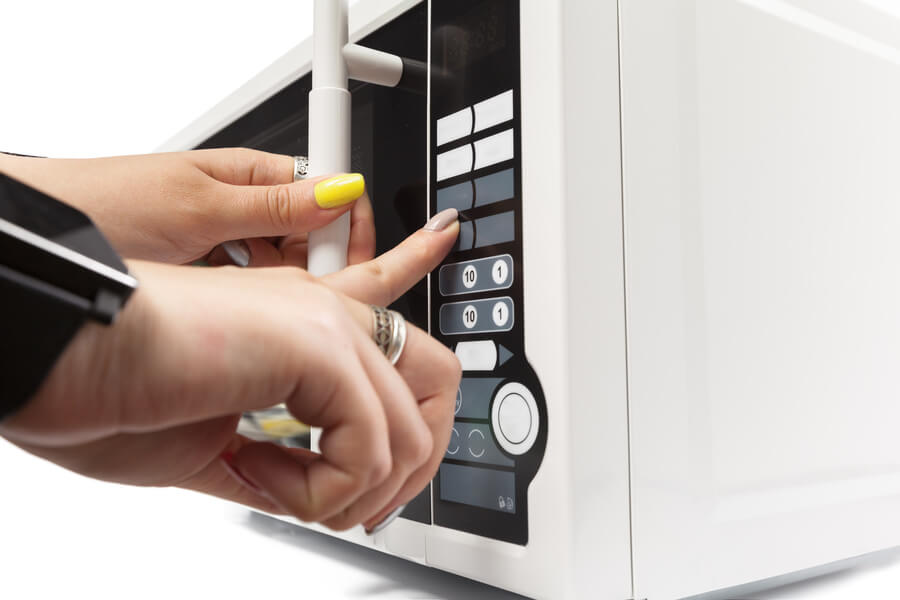
Have you ever had that moment when you’re waiting for your microwave to finish cooking, and suddenly, everything goes dark?

It is like a mini blackout in your kitchen, and you’re left wondering, “Why did my GE microwave fuse blow again?” Don’t worry. You’re not alone in this frustrating situation.
In this guide, we will unravel the mystery of GE microwave-blowing fuses step by step. We’ll understand the role of fuses and identify common causes of this problem. We will also provide valuable practical solutions, thus empowering you to tackle this issue like a pro.
Understanding Microwave Fuses
Let’s start with the basics before diving into the blown fuses world. What exactly is a microwave fuse, and why is it crucial?
Microwave fuses are small but mighty components that play a vital role in the electrical circuit of your appliance. They act as safety guards, protecting your microwave from electrical overloads and potential hazards.
When the electrical current exceeds a safe level, the fuse blows, interrupting the circuit and preventing damage to your microwave. Now that we know why fuses are essential, let’s explore the common causes of GE microwave fuse blows.
Common Causes of GE Microwave Fuse Blows
Fuses don’t blow for no reason; there’s always a cause behind it. Let’s uncover the most frequent culprits responsible for your GE microwave fuse woes.
Overloading the Microwave
One of the most common reasons for fuse blows is overloading the microwave. It’s tempting to cram as much as possible into your microwave, but doing so can lead to a blown fuse. Here’s why:
Problem: When you overload the microwave with heavy or inappropriate items, it places excessive stress on the electrical system, causing the fuse to blow.
Solution: The solution here is simple: avoid overloading your microwave. Stick to the recommended weight limits and use microwave-safe containers. Check the manufacturer’s guidelines for clarification on an item’s suitability. Your microwave will thank you.
Faulty Door Switches
The door of your microwave is equipped with switches that ensure it only operates when the door is securely closed. If these switches malfunction, it can lead to fuse problems.
Problem: When the door switches fail to function correctly, the microwave might continue running even if the door is open slightly. This causes an excessive electrical load and can blow the fuse.
Solution: If you suspect faulty door switches, here’s what you can do:
- Inspect the Door Latch: Ensure the door latch engages appropriately when you close the door.
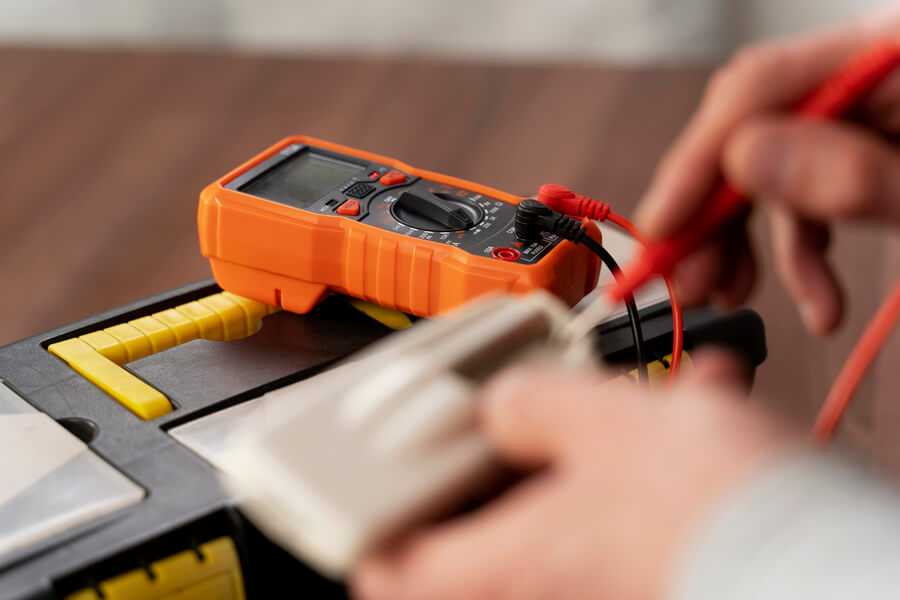
- Test the Door Switches: Use a multimeter to test the switches for continuity. If any show irregular readings, they may need replacement.
Electrical Surges and Power Fluctuations
Your microwave is sensitive to power surges and fluctuations in the electrical supply, just like your computer or other electronics.
Problem: Sudden power surges or fluctuations can disrupt the regular operation of your microwave, causing the fuse to blow.
Solution: Protect your microwave from power-related issues:
- Use a Surge Protector: Plug your microwave into a surge protector to shield it from voltage spikes.
- Stabilize the Power: Consider using a voltage stabilizer to ensure a steady electricity supply to your microwave, especially in areas prone to power fluctuations.
Diagnosing Fuse Problems

So, your GE microwave’s fuse has blown, and you’re left in the dark (literally). How can you confirm it’s a blown fuse and not another issue?
How to Identify a Blown Fuse
Recognizing a blown fuse is the first step in the diagnostic process. Here’s how to tell if your microwave’s fuse has blown:
Signs of a Blown Fuse
- Total Power Loss: If your microwave suddenly dies, it strongly indicates a blown fuse.
- No Lights or Display: Check if the microwave’s display and interior light are non-functional.
- Unresponsiveness: Pressing buttons or attempting to start the microwave has no effect.
Testing the Fuse
Once you suspect a blown fuse, it’s time to put on your detective hat and confirm your suspicions.
Below are the things you’ll need:
- Screwdriver: You will need it to open the microwave’s casing.
- Multimeter: You will need it to test the fuse for continuity.
Steps to Test the Fuse
- Safety First: Before you begin, ensure the microwave is unplugged to avoid electrical hazards.
- Access the Fuse: Use a screwdriver to remove the microwave’s outer casing carefully. Inside, you’ll find the fuse holder.
- Remove the Fuse: Gently pull out the fuse from its holder. Be careful not to damage any surrounding components. Any wrong move can damage nearby components.
- Set the Multimeter: Switch your multimeter to the continuity test mode.
- Test the Fuse: Touch the multimeter’s probes to both ends of the fuse. If the multimeter beeps or shows continuity, the fuse is still functional. If there’s no beep or continuity, the fuse is blown and needs replacement.
Solutions to GE Microwave Fuse Issues
Now that you’ve confirmed a blown fuse, let’s move on to the solutions. We’ll walk you through the steps to safely replace the fuse and share valuable tips to prevent future blowouts.
Replacing the Fuse
If you’re comfortable working with electrical components, replacing a blown fuse in your GE microwave is a doable DIY task. Here’s a step-by-step guide:
Materials You’ll Need
- Replacement Fuse: Ensure it matches the specifications of the original fuse.
- Screwdriver: For opening the microwave’s casing.
- Needle-nose Pliers: To handle the fuse and other components.
- Safety Gear: Wear safety goggles and gloves for protection.
Steps to Replace the Fuse
- Safety First: Unplug the microwave and ensure it’s wholly de-energized.
- Access the Fuse: Carefully remove the outer casing of the microwave using a screwdriver.
- Locate the Fuse: Find the blown fuse inside the fuse holder. Use needle-nose pliers to remove it gently.
- Replace with a New Fuse: Insert the new fuse into the holder, ensuring it matches the original specifications.
- Reassemble the Microwave: Put the outer casing back in place and secure it with screws.
- Plug it In: Finally, plug in your microwave and test it to ensure it’s working correctly.
Preventing Future Fuse Blows

Now that you’ve successfully replaced the fuse, let’s explore how to avoid this situation. Follow these preventive measures to keep your GE microwave fuse intact:
1. Proper Usage
Stick to recommended weight limits and avoid overloading your microwave. Use microwave-safe containers and follow cooking guidelines.
2. Regular Maintenance
Keep your microwave clean, especially the interior, to prevent debris buildup. Check the door latch and switches regularly for proper functioning.
3. Voltage Protection
Invest in a surge protector to shield your microwave from power surges. Consider using a voltage stabilizer in areas with unstable electrical supply.
Wrap Up
Congratulations, you’re now well-versed in the world of GE microwave fuse blows! You’ve learned why microwave fuses are crucial, identified common causes of fuse issues, mastered the art of diagnosis, and acquired the skills to replace a blown fuse safely.
Following the practical solutions and preventive measures outlined in this guide will save on repair costs and ensure that your GE microwave serves you reliably for years. So, the next time your microwave goes dark mid-cook, you’ll know just what to do.
