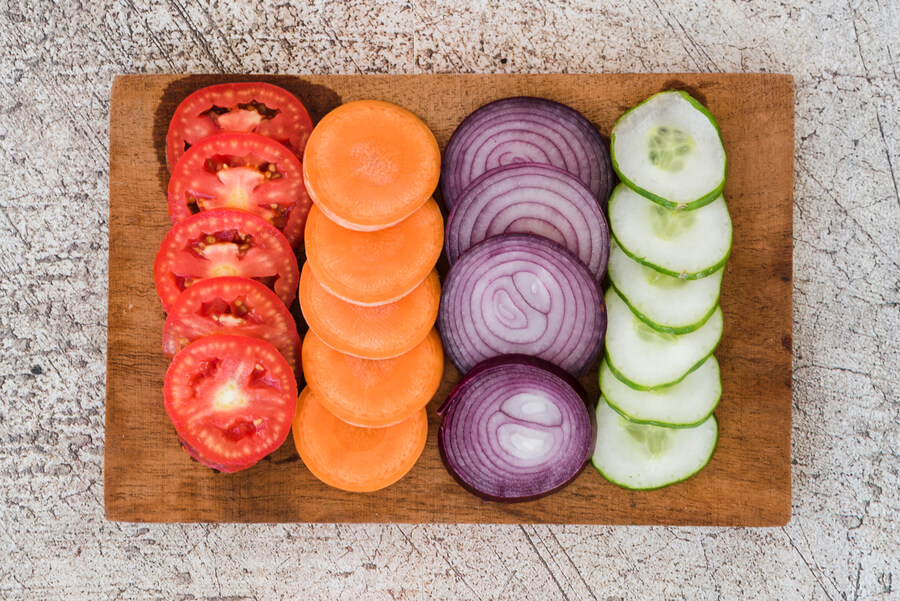
If you’ve ever wielded a mandoline in the kitchen, you know the magic it brings to slicing vegetables and fruits with precision. However, over time, even the sharpest blades can lose their edge.

That’s where our guide comes in. In this article, we’ll learn the art of sharpening mandoline blades, ensuring your trusty kitchen companion remains at its best.
Whether you’re a seasoned chef or just starting your culinary journey, these tips and techniques will help you maintain a razor-sharp edge and keep you safe. Let’s get slicing!
Understanding the Anatomy of Your Mandoline Blades
Before reviewing the sharpening process, it’s essential to familiarise yourself with the crucial components of your mandoline.
As you know, a mandoline is a versatile kitchen tool primarily known for its razor-sharp blade, which allows for uniform and precise slicing. Here, we’ll break down the key aspects to help you better comprehend how it all comes together:
1. Blades Variety:
Mandolines often come with various blade types, each designed for specific tasks. Standard blades include straight blades for slicing and julienne blades for creating fine strips. Remember that serrated or specialized edges may not be suitable for sharpening.
2. Safety Considerations:
Mandoline blades are incredibly sharp, and accidents can happen if not handled with care. Always prioritize safety by wearing protective gloves and following proper handling guidelines to prevent injuries.
3. Disassembly:
To sharpen a blade effectively, you may need to disassemble your mandoline partially or entirely. The process can vary depending on the mandoline’s design, so it’s essential to consult your mandoline’s instructions for guidance.
Understanding these fundamental aspects of your mandoline will set the stage for a successful blade-sharpening process.
Gathering the Essential Tools and Materials
Before embarking on the journey to sharpen your mandoline blades, ensuring you have all the necessary tools and materials is crucial. Proper preparation will make the sharpening process smoother and safer. Here’s a rundown of what you’ll need:
1. Whetstone:
The heart of the sharpening process is the whetstone, a specialized tool. Ensure you have a high-quality whetstone suitable for kitchen blades.
2. Screwdriver:
A screwdriver is essential for disassembling your mandoline and removing the blade that requires sharpening. Be sure it’s the right size and type for the task.
3. Gloves:
Wear gloves while handling the sharp blades to protect your hands from potential cuts. Choose a pair that provides a good grip and dexterity.
Now that you have the necessary tools, you’re one step closer to reviving your mandoline’s slicing precision. But remember, safety should always come first. Wear gloves before you begin, as handling mandoline blades can be risky.
The Sharpening Process: Step by Step

With the tools and safety precautions in place, it’s time to delve into the actual sharpening process. Proper technique is essential to ensure your mandoline blades regain their razor-sharp edge.
Here’s a detailed breakdown of each step to sharpen your mandoline blades effectively:
Step 1: Read the Whetstone Instructions
Begin by familiarizing yourself with the instructions that accompany your chosen whetstone. Whetstones can vary in their requirements, such as whether they need to be lubricated with water or oil.
Following the manufacturer’s recommendations is essential for achieving the best results.
Step 2: Set Up the Sharpening Stone
Place the sharpening stone on a stable, flat surface. Stability is crucial for precise sharpening. Ensure the stone is secure and won’t move during sharpening. A sliding stone can lead to inconsistent results.
Step 3: Position the Blade Correctly
Hold the mandoline blade securely, ensuring that the sharp edge faces away from you. Achieving the correct sharpening angle is vital for restoring the blade’s sharpness.
Typically, a 20-degree angle works well for most mandoline blades. Use a sharpening guide or refer to your mandoline’s instruction manual to ensure you maintain the right angle.
Step 4: Begin Sharpening
Gently push the blade across the sharpening surface of the whetstone. As you do this, you should hear a distinctive, sharp, slicing sound, indicating that the sharpening process is in progress.
Maintain a consistent angle and even pressure throughout the process to ensure uniform sharpening.
Step 5: Quick Stroking Motion
Use a quick stroking motion while sharpening the blade. This motion helps to sharpen the entire length of the blade evenly. Continue this motion for about five minutes or as your whetstone’s instructions recommend.
Periodically check the blade’s sharpness by inspecting it visually and feeling the edge with your fingertips.
Step 6: Testing Sharpness
To assess the sharpness, carefully cut a vegetable with the sharpened blade. Ideally, the blade should cut smoothly and cleanly through the vegetable with minimal resistance.
If it meets this criteria, your blade is on the right track. After testing, rinse the blade under cold running water to remove any metal shavings or debris from the sharpening process.
Step 7: Reassemble the Mandoline
Put your mandoline back together by replacing the blade and securely fastening any screws or components removed for sharpening. Before using the mandoline, gently wiggle it to ensure everything is secure and correctly assembled.
Safety is paramount, so take extra care when handling the newly sharpened blade.
By following these steps diligently and paying attention to the details, you’ll not only revive the precision of your mandoline but also ensure that the blades are safe to use.
Patience and a meticulous approach to sharpening are crucial to achieving the best results, ensuring your mandoline remains a reliable kitchen companion.
Alternative Sharpening Methods
While sharpening with a whetstone is the primary method discussed in this guide, there are alternative ways to maintain your mandoline blades:
1. Honing Rod:
An honing rod is a cylindrical tool with a fine abrasive surface, often steel or ceramic. While it won’t remove significant amounts of metal like a whetstone, it can help maintain the blade’s edge between sharpenings.
Hold a honing rod at a slight angle and run it along the blade’s edge, applying gentle pressure.
2. Professional Sharpening Service:
If you’re uncomfortable sharpening your blades or requiring extensive restoration, consider using a professional sharpening service.
These professionals have the expertise and specialized equipment to ensure your mandoline blades are honed to perfection. It’s convenient for those who want the best results without the DIY approach.
Maintenance Schedule
The frequency with which you should sharpen your mandoline blades depends on several factors, including how often you use the mandoline and the types of foods you typically slice.
Here are some general guidelines to help you establish a maintenance schedule:
1. Regular Use:
You may need to sharpen the blades more often if you use your mandoline frequently, such as in a professional kitchen or for daily meal preparation. Monthly sharpening sessions help maintain optimal performance.
2. Occasional Use:
Sharpening every two to three months should suffice for those who use their mandoline less frequently, such as occasional home cooks. Pay attention to signs of blade dullness to determine the exact timing.
3. Food Types:
Consider the types of foods you frequently slice. Foods with higher acidity levels, like tomatoes, can dull blades faster. If you often cut such items, you may need more frequent sharpening.

4. Visual Inspection:
Regularly inspect the blade’s edge for signs of wear and dullness. If you notice any irregularities or loss of sharpness, it’s time to schedule a sharpening session.
Remember that a well-maintained mandoline enhances your slicing precision and improves kitchen safety. A consistent maintenance schedule ensures that your mandoline blades are always ready for top-notch performance.
Conclusion:
Mastering the art of sharpening mandoline blades is a craftwork that enhances both safety and culinary precision. By understanding the factors leading to blade dullness and following our comprehensive guide, you can keep your mandoline performing at its best.
Remember to prioritize safety with protective gear and secure assembly. With sharp blades and the proper technique, you’ll effortlessly create uniform slices of fruits and vegetables, elevating your kitchen creations.
Maintaining sharp mandoline blades is not just about convenience; it’s about enhancing the joy and ease of cooking, making every meal a delightful experience. Happy slicing!
